
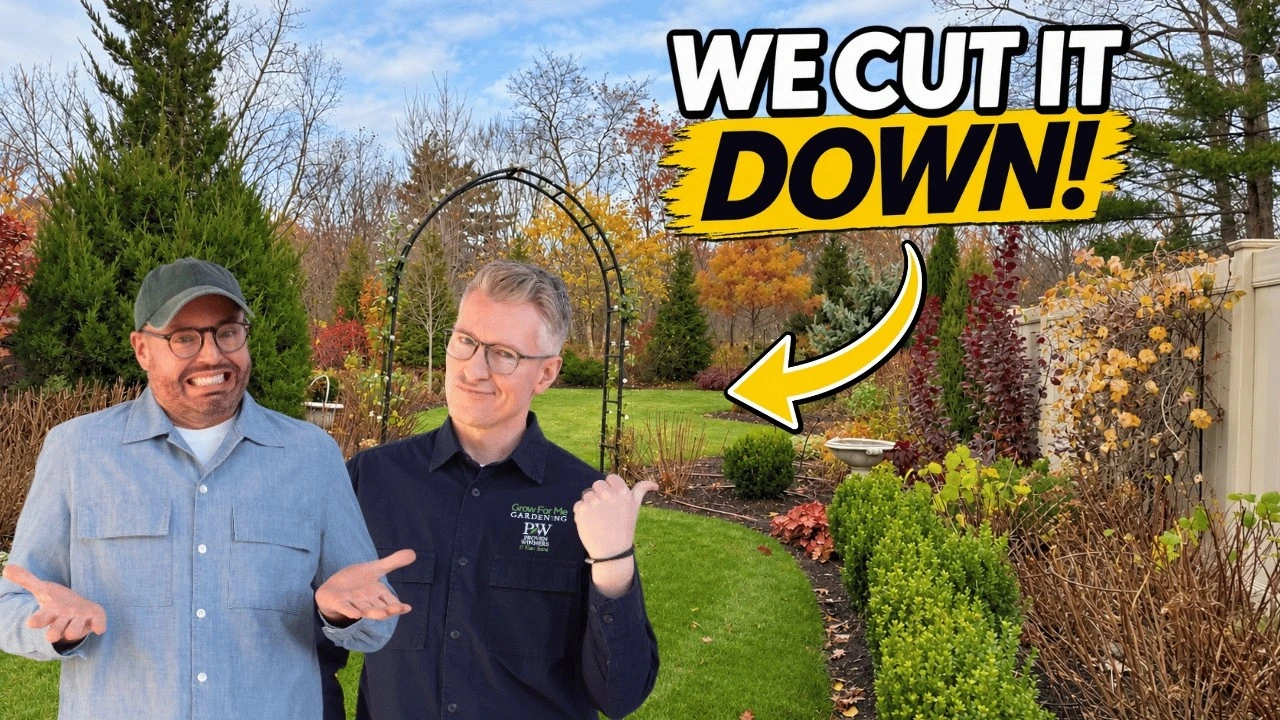
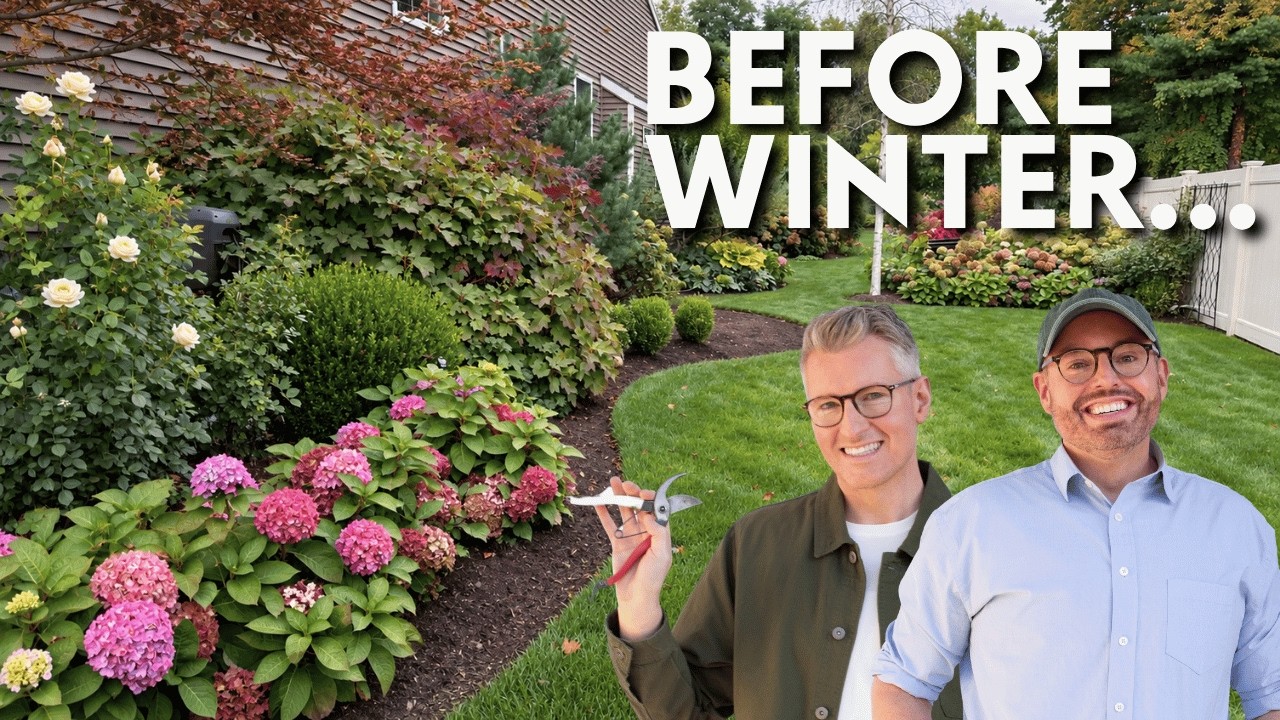
Fall garden cleanup is underway here in our Zone 6A garden in upstate New York! Before winter arrives, we’re tackling a few important projects to help our plants make it through the colder months.
On today’s list? Preparing three types of hydrangeas for winter, cleaning up frost-damaged perennials, protecting our boxwoods from winter burn, and saying goodbye to a favorite tree.
If you’re wondering what to cut back in fall, what to leave until spring, or how to protect your plants from winter damage, here’s what we’re doing in our garden and why.
One of the most important things to remember about fall hydrangea care is that not all hydrangeas should be treated the same way.
In our hydrangea room, we grow three types: smooth hydrangeas (Hydrangea arborescens), panicle hydrangeas (Hydrangea paniculata), and bigleaf hydrangeas (Hydrangea macrophylla).
Each has different pruning needs heading into winter.
Our smooth hydrangea hedge includes Incrediball, Incrediball Blush, Invincibelle Lace, and Invincibelle Sublime.
Because smooth hydrangeas bloom on new wood, they can be cut back in fall or spring without sacrificing next year’s flowers.
We prefer fall pruning because our upstate New York winters often bring heavy, icy snow that causes tall stems to flop.
This year, we used a hedge trimmer to cut ours back to approximately 2½–3 feet tall. Our very scientific measurement? Christopher’s pocket height!
We also preserve the established woody bases of our plants, leaving at least 18 inches of sturdy stems rather than cutting everything to the ground. This helps maintain a stronger framework to support next season’s growth.
Our Bobo hydrangeas also bloom on new wood, but we’re taking a different approach.
Rather than doing our detailed pruning now, we’re simply removing the spent flower heads to reduce the weight of winter snow and ice.
We’ll save our more precise shaping and size-control pruning for spring.
If you don’t experience heavy winter snow, you can leave those dried flowers for winter interest! We’re even leaving the blooms on our Quick Fire standard because its lighter, more open flowers are less likely to collect heavy snow.
Our Let’s Dance Blue Jangles hydrangeas were some of our best performers this year, producing absolutely gorgeous blue flowers.
These compact bigleaf hydrangeas bloom on both old and new wood, so we’re especially careful about cutting them back.
We’re removing only the spent flower heads, leaving the stems intact. Those stems may already contain buds for next year’s flowers, and cutting them back could mean losing some of those blooms.
We also think their location has contributed to their success. They’re planted on the east side of our house, protected from harsh winds and exposed to gentler morning sunlight.
It’s a great reminder that where you plant a hydrangea can make a big difference in how it performs!
Once frost arrives, some perennials go from beautiful to downright mushy almost overnight.
Under our dappled willow, we’re cleaning up frost-damaged hostas and other perennials while leaving our hellebores and heuchera in place.
Not everything needs to be cut back in fall. Some plants provide winter interest, protect their crowns, or offer habitat for beneficial insects.
We’re also tackling our Betty Corning clematis, which had an impressive growing season—perhaps a little too impressive!
Instead of climbing neatly over its support, it repeatedly flopped over itself and eventually overwhelmed the climbing roses nearby.
Betty Corning is a Group 3 clematis, meaning it flowers on new growth and can be cut back hard during dormancy. We cut ours back to approximately 18 inches.
We’re planning to replace its support structure next year, although whether the clematis returns to that exact location is still up for debate. We’d really love to give those climbing roses a fighting chance!
After experiencing significant boxwood browning and dieback last winter, we’re being proactive this year.
Winter burn occurs when evergreen foliage continues losing moisture through transpiration, but frozen soil prevents the roots from replacing that water.
The result? Brown, dry foliage, especially on plants exposed to strong winter winds and direct sunlight.
We’re using Bonide Wilt Stop, an anti-desiccant made with pine resin that creates a light protective coating on evergreen foliage to help reduce moisture loss.
Here’s our approach:
Choose the right weather. Apply when temperatures are above freezing, allowing enough time for the product to dry before freezing weather returns. Follow the manufacturer’s application instructions.
Mix according to the label. We’re using a pump sprayer and following the recommended dilution.
Coat the foliage thoroughly. Spray the outer foliage and work into the plant to reach additional leaf surfaces.
Focus on exposed areas. We’re paying particular attention to the south-facing sides of our boxwoods, which receive more direct winter sunlight.
We’re treating boxwoods throughout our property, including several recently transplanted ones.
Interestingly, our Winter Gem boxwoods came through last winter looking much better than some of our other varieties. It’s another reminder that cultivar selection and placement matter in colder climates.
And don’t forget about fall watering! Newly planted and transplanted evergreens need consistent moisture until the ground freezes, particularly during dry stretches.
We may have neglected that advice with a few of our own recent transplants. Even experienced gardeners forget things!
Not every fall garden project is planned, and this one was particularly difficult.
After consulting with two experts, we made the decision to remove our struggling Eastern redbud tree.
The tree had significant rot at its base, a large split in the trunk, and a root ball that visibly moved in the ground. Unfortunately, the structural damage was too severe to ignore.
Removing it turned into a much bigger project than anticipated, but after plenty of digging and determination, we managed to get the stump out ourselves!
We’re sad to lose a tree we’ve watched grow, but we’re also excited about the possibilities for next spring.
We’re considering another Eastern redbud, an Autumn Brilliance serviceberry, or a seven-son flower tree (Heptacodium). We’ll wait until we visit our local garden centers before making the final decision.
Sometimes gardening means accepting that something isn’t working and making room for something new.
After a productive day in the garden, we’re feeling much better prepared for winter!
Here’s a quick recap of what we accomplished:
Smooth hydrangeas: Cut back to approximately 2½–3 feet.
Panicle hydrangeas: Removed heavy spent blooms, saving detailed pruning for spring.
Bigleaf hydrangeas: Carefully deadheaded without removing stems.
Perennials: Removed frost-damaged foliage while leaving evergreen plants intact.
Clematis: Cut back our Group 3 Betty Corning clematis.
Boxwoods: Applied Wilt Stop to help reduce winter moisture loss.
Eastern redbud: Removed a declining tree and started planning its replacement.
Preparing your garden for winter doesn’t mean cutting everything down or making every bed perfectly tidy. It’s about understanding what each plant needs and taking a few thoughtful steps to help it through the colder months.
And while putting the garden to bed is always a little bittersweet, there’s something exciting about knowing spring will bring a fresh start.
Want to see these projects in action? Watch our latest YouTube video to see how we’re preparing our hydrangeas, protecting our boxwoods, and tackling one of our biggest garden projects of the season.
Thanks for growing with us!

Join our gardening journey and grow alongside us. From seed starting to full garden tours, we share tips, inspiration, and the joy of growing beautiful spaces.
We respect your privacy and will never share your information. Thanks for growing with us!
Get seasonal tips, behind-the-scenes from our garden, and be the first to know what we’re planting, pruning, and loving.
As a thank you, we’ll send you our favorite tried-and-true plants — the ones we grow in our own garden.