If we were starting our garden over from scratch, there’s one non-plant item we would install immediately:
Drip irrigation.
In fact, when we recently shared our “must-have garden items,” (check out the blog post here) drip irrigation made the list because we genuinely consider it a game changer for a garden our size.
Once it’s set up, it saves time, reduces stress during hot weather, delivers more consistent moisture to plants, and honestly gives us more freedom to actually enjoy the garden instead of constantly dragging hoses around.
And despite how intimidating it can seem at first, drip irrigation is much simpler than most gardeners think.
That’s exactly why we created our freebie:
When our garden was smaller, hand watering worked fine.
But as our garden expanded—with large perennial borders, shrubs, containers, and new plantings—it became harder to keep everything consistently watered.
We needed a system that could:
Drip irrigation solved all of those problems.
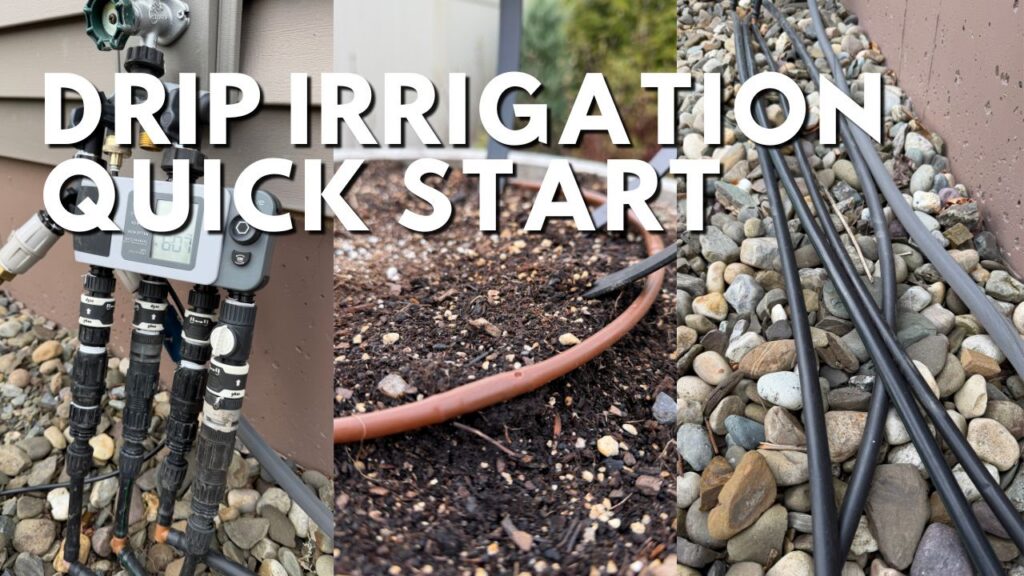
As Eric explained in our recent video, the system starts with a timer attached to the faucet, connects to a pressure regulator, and then distributes water through tubing and emitters throughout the garden beds.
We even run emitters into some of our containers so annuals can be watered automatically throughout the season.
A lot of gardeners assume drip irrigation is:
But the reality is that you can start very simply and expand over time.
That’s one of the biggest things we emphasize in our free guide.
You do not need to install an elaborate system all at once.
You can begin with:
…and build from there as your garden evolves.
Our free quick-start guide breaks the system into six simple categories:
This is the control center of the system:
This automates watering and keeps the system running properly.
The larger tubing carries water throughout the garden beds.
We often hide this under mulch so it disappears visually once the garden fills in.
This is where water actually reaches plants:
These pieces help split, direct, and customize the system to fit your layout.
Smaller tubing delivers water directly to individual plants or containers.
A few simple tools make installation and adjustments much easier.
This is one of the most common questions we get.
We use both throughout our garden depending on the situation.
Once mulch goes down, most of the system practically disappears.
In our garden, much of the tubing gets hidden beneath compost mulch during the season, so you don’t constantly see hoses running through the beds.
That means:
If drip irrigation has felt overwhelming to you, we created this guide specifically to simplify it.
Inside, you’ll find:
We also recently featured drip irrigation in our video about the must-have plants and design elements we would include if we started our garden over from scratch. Check it out at the link!
This post may contain affiliate links. If you purchase through these links, we may earn a small commission at no additional cost to you. We only share products we personally use and genuinely recommend in our own garden.
Join our gardening journey and grow alongside us. From seed starting to full garden tours, we share tips, inspiration, and the joy of growing beautiful spaces.
We respect your privacy and will never share your information. Thanks for growing with us!
Get seasonal tips, behind-the-scenes from our garden, and be the first to know what we’re planting, pruning, and loving.
As a thank you, we’ll send you our favorite tried-and-true plants — the ones we grow in our own garden.